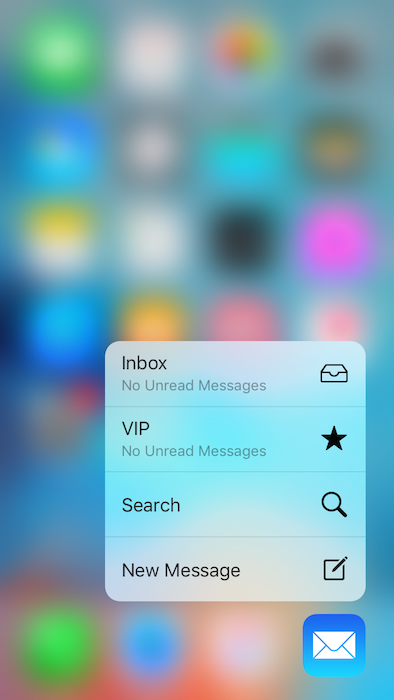
3D Touch is a new feature exclusive to iPhone 6s and iPhone 6s Plus. It provides a new way for users to interact with our apps. As such, it’s important for developers to embrace this new technology. There are two ways that 3D Touch can be integrated into your app.
Shortcuts From The Home Screen
Preparing The Shortcuts
 A user can launch your app via shortcuts by pressing firmly on your application’s icon. Apple’s own UI presents whatever shortcut items you provide. To provide these shortcut items, all you need to do is modify the .plist of your app. Add a new row with the key UIApplicationShortcutItems and set its type to “Array”. You can then add up to four new rows in the UIApplicationShortcutItems array. These rows need to be of the type “Dictionary”.
There are several predefined keys that you can add into each shortcut item. They are:
1. UIApplicationShortcutItemType – required
2. UIApplicationShortcutItemTitle – required
3. UIApplicationShortcutItemSubtitle – optional
4. UIApplicationShortcutItemIconType – optional
5. UIApplicationShortcutItemIconFile – optional
6. UIApplicationShortcutItemUserInfo – optional
]The names are fairly self-descriptive but here is a summary for each one:
1. UIApplicationShortcutItemType is a string you can define so that your app can be notified that the particular shortcut was chosen (pro tip: Constants and Enums are your friend).
2. UIApplicationShortcutItemTitle is the string the user sees for the shortcut. It will wrap to 2 lines unless you have a subtitle set, in which case it will be truncated.
3. UIApplicationShortcutItemSubtitle is the subtitle for the shortcut. This is shown just below the main title.
4. UIApplicationShortcutItemIconType is a system defined icon for the shortcut (a list of the system icons can be seen here).
5. UIApplicationShortcutItemIconFile is an app defined icon file.
6. UIApplicationShortcutItemUserInfo is any special data your app needs for a shortcut.
Responding To The User’s Selection
Ok, so at this point we have our shortcuts defined in our .plist and they show up on the home screen when a user performs a 3D Touch on our app’s icon. So how do we know which shortcut they chose? Apple has provided a method that we can implement in the App Delegate called application:performActionForShortcutItem:completionHandler. Both the “application” and “completionHandler” arguments are familiar to iOS developers. The new one, “shortcutItem”, is simply a reference to the UIApplicationShortcutItemType we defined in our .plist. We can use this argument to decide what to do with the shortcut via a switch statement, if-else if, etc.
Shortcuts can also be handled from application:didFinishLaunchingWithOptions using the UIApplicationLaunchOptionsShortcutItemKey but if you handle it there, be sure to make application:performActionForShortcutItem:completionHandler checks that the shortcut item has not already been handled.
Peek and Pop
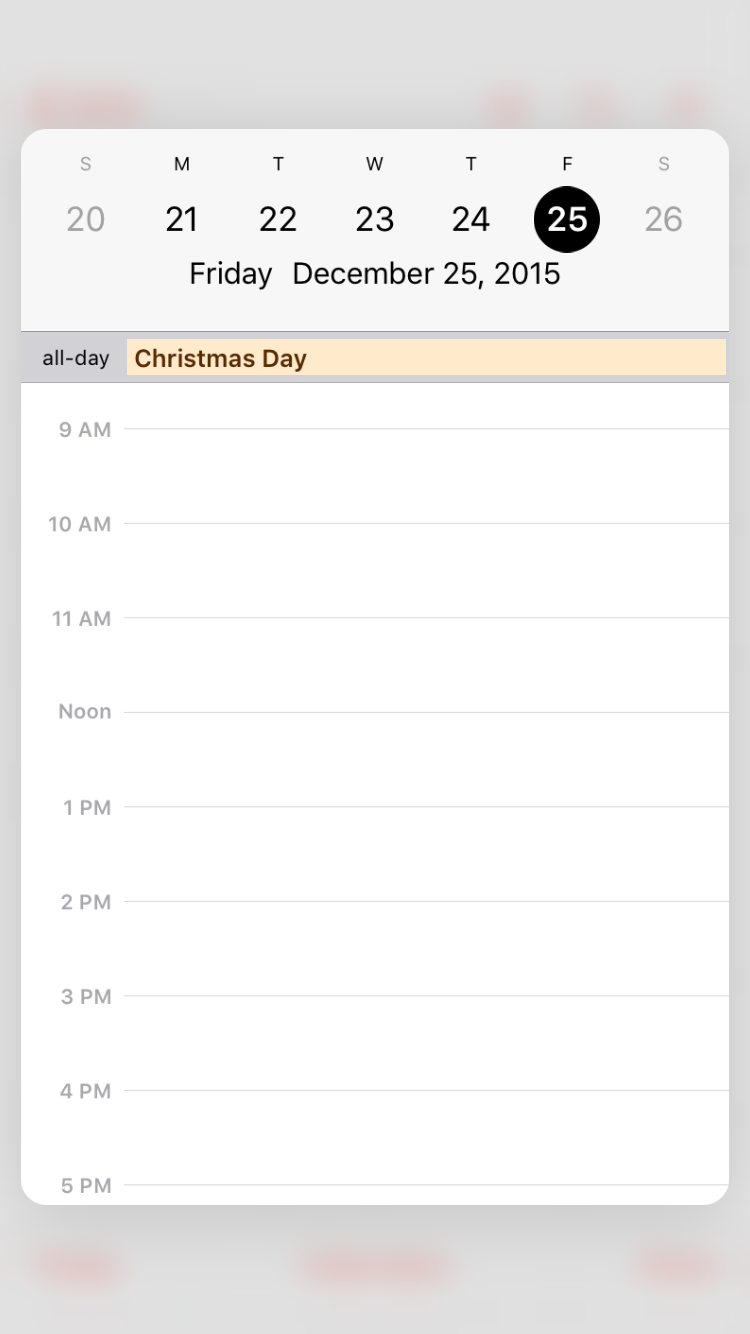
Peek and Pop are the more “exciting” features of 3D Touch. With a firm press, a user can preview a screen. With a slightly firmer press, they can “pop” into the screen. In developer terms, the user is previewing a view controller (Peek) and then that view controller is committed (Pop). Thanks to some simple delegate methods, Peek and Pop are really easy to implement.
Check for Availability
3D Touch is only available on the iPhone 6s and iPhone 6s Plus. Therefore, we need to check to make sure that the device the app is running on can handle the 3D Touch code we will implement.
if traitCollection.forceTouchCapability == .Available { registerForPreviewingWithDelegate(self, sourceView: view)}
As you might notice, the VC is registering as a delegate. Indeed, each view controller that wants to be previewed (peeked) needs to register for the UIViewControllerPreviewingDelegate protocol. Once registered, there are 2 delegate methods that must be implemented.
Implement the Delegates
Preview
The first delegate method we will look at is previewingContext:viewControllerForLocation which handles the “peeking”. This method returns an optional UIViewController object. If nil is returned, then a peek does not occur. The location parameter gives a CGPoint of where the user touched. This can be used to get the correct model object (i.e. the model for a particular tableview cell or collectionViewCell). Once you create your view controller instance, you need to set the preferredContentSize property. Finally, set the sourceRect property for the previewingContext and return your newly created view controller. Apple’s Peek UI takes over and you have just implemented 3D Touch (partially) in your app.
func previewingContext(previewingContext: UIViewControllerPreviewing, viewControllerForLocation location: CGPoint) -> UIViewController? { guard let indexPath = catsTableView.indexPathForRowAtPoint(location) else { return nil } guard let cell = catsTableView.cellForRowAtIndexPath(indexPath) else { return nil } let theCat = cats[indexPath.row] catDetailVC.cat = theCat catDetailVC.preferredContentSize = CGSize(width: view.bounds.size.width - 50, height: view.bounds.size.height - 100) if #available(iOS 9.0, *) { previewingContext.sourceRect = cell.frame } return catDetailVC }
Preview Actions
If you want a user to be able to swipe up on your “peeked” view controller in order to find shortcuts to actions they can take, just implement the previewActionItems method in the view controller. It expects an array of UIPreviewActionItem to be returned. UIPreviewAction is similar to UIAlertAction in that there is a title, a style, and a closure to perform an action once a user has selected that item.
override func previewActionItems() -> [UIPreviewActionItem] { let meowAction = UIPreviewAction(title: "Say Meow", style: .Default) { (previewAction, vc) -> Void in self.sayMeow() } return [meowAction] }
Commit
Finally, we want to commit (pop) the view controller that was previewed (peek). We do that by implementing previewingContext:commitViewController method. This method passes us the view controller that was just previewed. Commit this view controller by calling showViewController:sender. Alternatively, if your full screen view controller is different than the one you previewed, you can do the setup for it here. Either way, I suggest using showViewController:commitViewController so that you have the advantage of Apple’s nice pop animation. Using pushViewController:animated or presentViewController:animated:completion will result in some awkward animation that might confuse a user.
func previewingContext(previewingContext: UIViewControllerPreviewing, commitViewController viewControllerToCommit: UIViewController) { showViewController(viewControllerToCommit, sender: self) }
Conclusion
Congratulations, you’ve now implemented 3D Touch in your app! Users will be delighted as they come to expect this behavior from their apps. Happy Peeking and Popping!


